A roof isn’t just a structural necessity—it’s your home’s first line of defense against Florida’s scorching sun, torrential rains, and hurricane-force winds. At Roofing Tampa FL, we’ve spent nearly two decades perfecting the art of roof installations tailored to Tampa’s unique climate. Whether you’re a DIY enthusiast or planning to hire professionals, We will walk you through every critical phase: pre-installation preparation, step-by-step installation, and how to hire a qualified roofer. Let’s dive in!
1. Roof Installation Checklist: The Foundation of a Successful Project
A flawless roof installation starts with meticulous planning. Skipping this phase can lead to costly delays, code violations, or even structural failures. Here’s your expanded checklist to ensure nothing falls through the cracks.
Pre-Installation Inspection: Leave No Shingle Unturned
Before ordering materials or scheduling labor, a thorough inspection is non-negotiable. At Roofing Tampa FL, our certified inspectors focus on three key areas:
Structural Assessment
-
- Deck Integrity: Check for soft spots, rot, or water damage in the plywood or OSB decking.
- Support Systems: Inspect rafters and trusses for sagging, cracks, or termite damage (common in Florida’s humid climate).
- Weight Capacity: Ensure the structure can handle heavy materials like tile or slate (e.g., clay tiles weigh ~600–1,000 lbs per square).
Ventilation & Insulation Audit
-
- Attic Airflow: Poor ventilation traps heat and moisture, accelerating roof decay. Check for adequate soffit, ridge, or gable vents.
- Insulation Quality: Proper insulation (R-30 to R-49 in Florida) reduces energy bills and prevents ice dams (rare but possible during cold snaps).
Storm Damage & Leak Detection
-
- Post-Hurricane Checks: Look for missing shingles, dented metal panels, or cracked tiles after storms.
- Leak Tracing: Water stains on ceilings or walls often indicate hidden leaks. Use infrared cameras to pinpoint moisture intrusion.
Roofing Material Selection: Balancing Aesthetics, Durability, and Budget
Florida’s climate demands materials that can withstand UV rays, humidity, and 120+ mph winds. Here’s a detailed breakdown:
Asphalt Shingles
-
- Pros: Affordable (3–3–5 per sq. ft.), easy installation, Class A fire rating.
- Cons: Shorter lifespan (15–25 years), prone to wind uplift in hurricanes.
- Best For: Budget-conscious homeowners; choose architectural shingles for enhanced durability.
Metal Roofing
-
- Pros: 50+ year lifespan, energy-efficient (reflects 70% of solar heat), wind-rated up to 160 mph.
- Cons: Higher upfront cost (7–7–14 per sq. ft.), noisy during rain.
- Best For: Long-term investment; ideal for coastal homes.
Concrete & Clay Tiles
-
- Pros: Fireproof, hurricane-resistant, timeless Mediterranean appeal.
- Cons: Heavy (requires reinforced framing), expensive (10–10–20 per sq. ft.).
- Best For: Historic or Spanish-style homes; opt for lighter synthetic tiles if weight is a concern.
Slate Roofing
-
- Pros: 100+ year lifespan, natural beauty, zero maintenance.
- Cons: Extremely heavy (15–15–30 per sq. ft.), requires specialized installers.
- Best For: Luxury properties; ensure your home’s structure can support the load.
Permit Requirements for Roof Installation: Navigating Tampa’s Red Tape
Florida’s strict building codes are designed to mitigate hurricane damage, and Hillsborough County enforces rigorous permitting processes. Here’s how to stay compliant:
Permit Types
-
- Roof-Only Permit: For re-roofing projects (same materials, no structural changes).
- Full Roof Permit: Required if altering the roof’s design, adding layers, or switching materials.
Documentation Checklist
-
- Contractor’s license and insurance proof.
- Engineering reports for heavy materials (e.g., tile, slate).
- Wind mitigation details (e.g., nail patterns, adhesive seals).
Inspection Milestones
-
- Deck Inspection: After old materials are removed.
- Mid-Project Inspection: Post-underlayment and pre-material installation.
- Final Inspection: Ensures compliance with FBC (Florida Building Code) wind and water resistance standards.
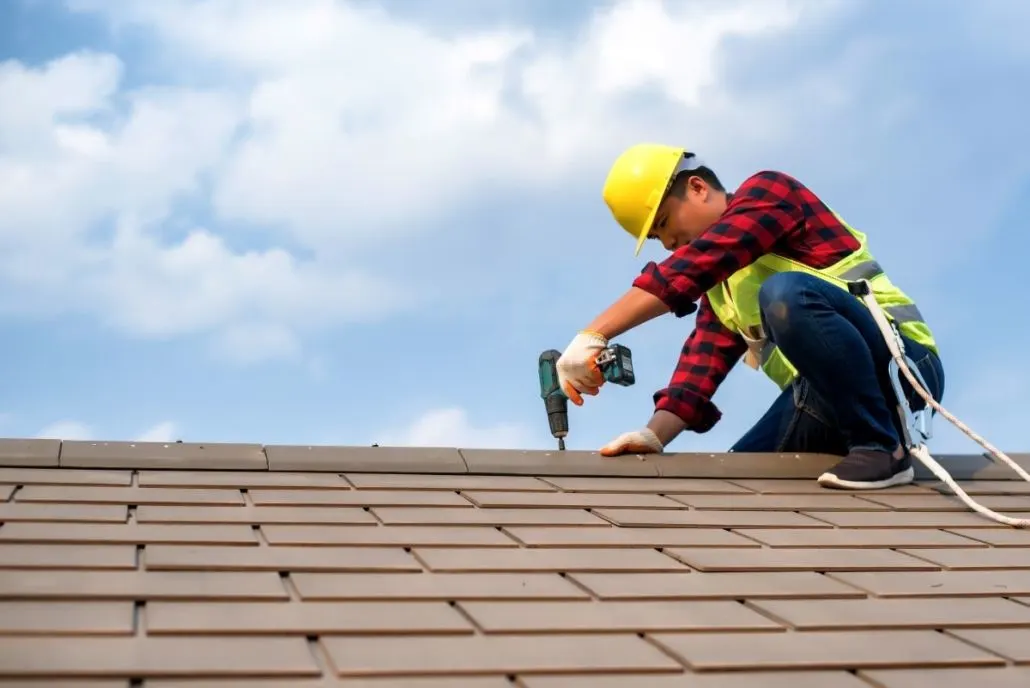
2. How to Install a Roof: A Step-by-Step Deep Dive
While DIY roof installation is possible for small repairs, full replacements require precision and safety protocols.
Phase 1: Tear-Off and Prep Work
Safety First:
-
- Erect scaffolding, harness systems, and edge guards.
- Use OSHA-approved ladders and debris chutes.
Stripping the Old Roof
-
- Remove existing shingles, underlayment, and flashing with roofing shovels or pry bars.
- Inspect the deck for rot; replace damaged sections with ½” CDX plywood.
Debris Management
-
- Rent a dumpster (10–20 cubic yards for average homes).
- Use magnetic sweepers to collect nails and avoid punctures.
Phase 2: Underlayment and Flashing
Ice & Water Shield
-
- Apply self-adhesive membrane in valleys, eaves, and around penetrations (code-mandated in Florida).
Synthetic Underlayment
-
- Nail or staple 30# felt or polymer-based underlayment for moisture protection.
Flashing Installation
-
- Step Flashing: Layer galvanized steel around chimneys and skylights.
- Valley Flashing: Use W-shaped metal channels in roof valleys for water diversion.
Phase 3: Material Installation
For Asphalt Shingles:
- Starter Course: Install upside-down shingles at the eaves to prevent wind uplift.
- Full Courses: Stagger shingles 6” per row, nail 1” above the seal line.
- Ridge Caps: Cut shingles into thirds and bend over the ridge for a sealed finish.
For Metal Roofing:
- Panel Alignment: Snap chalk lines to ensure straight seams.
- Fastening: Use rubber-washed screws every 12–18”; avoid overtightening.
- Seam Sealing: Apply silicone caulk to overlapping edges.
For Tile Roofing:
- Battens: Install horizontal wood strips to secure tiles.
- Interlocking Tiles: Hook tiles onto battens and secure with copper nails.
Phase 4: Ventilation and Finishing
- Ridge Vents: Cut a 2” slot along the peak and cover with vented material.
- Soffit Vents: Install aluminum vents under eaves to promote airflow.
- Drip Edges & Gutters: Attach metal drip edges to direct water into gutters.
DIY Pitfalls to Avoid:
- Improper Nailing: Overdriven nails crack shingles; underdriven nails cause leaks.
- Ignoring Codes: Incorrect flashing or ventilation voids warranties.
- Safety Neglect: 34% of roofing fatalities involve falls—never work alone.
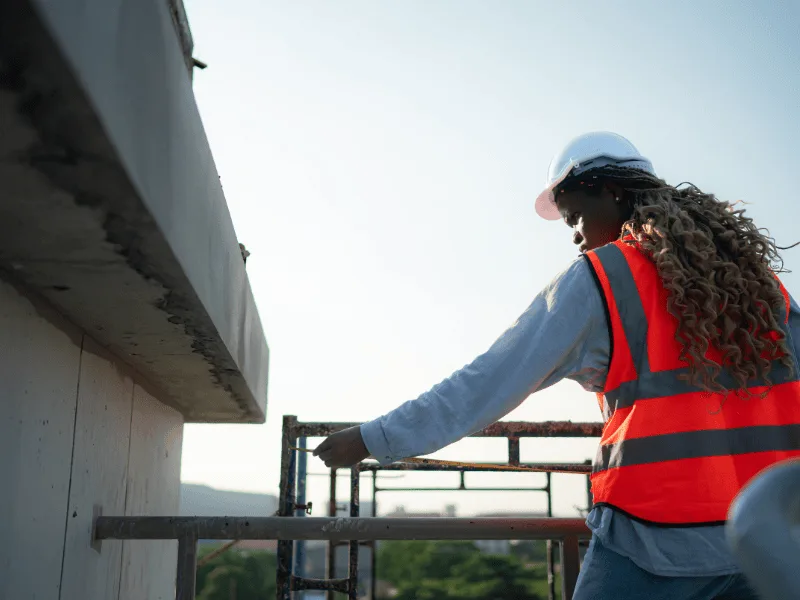
3. Hiring a Roofer: The Definitive Guide to Vetting Contractors
A poorly hired roofer can turn your dream project into a nightmare. Follow these steps to find a trustworthy pro:

Step 1: Verify Credentials
- Licensing: Florida requires a Certified Roofing Contractor license (CRC1330068 for Roofing Tampa FL).
- Insurance: Demand proof of general liability ($1M+) and workers’ comp (prevents liability for on-site injuries).
- Manufacturer Certifications: GAF Master Elite or CertainTeed ShingleMaster credentials signal advanced training.
Step 2: Scrutinize Reviews and References
- Online Reputation: Filter for detailed reviews mentioning communication, cleanup, and post-installation support.
- Local References: Ask for 3+ Tampa-area clients with similar projects (e.g., tile vs. shingle).
- Case Studies: Request before/after photos of hurricane-resistant installations.
Step 3: Compare Quotes and Contracts
- Line-Item Breakdown: Ensure quotes include:
- Material costs (brand, quantity, warranty).
- Labor (tear-off, installation, cleanup).
- Permits, inspections, and disposal fees.
- Payment Terms: Avoid contractors demanding >50% upfront.
- Warranty: Look for 10+ years on labor and 25–50 years on materials.
Step 4: Ask the Right Questions
- “How will you protect my landscaping during tear-off?”
- “What’s your process for handling unexpected deck damage?”
- “Do you subcontract labor, or is your team in-house?”
Conclusion
A roof installation is a 20+ year investment—cutting corners risks leaks, mold, and catastrophic storm damage. While DIY may save upfront costs, the long-term risks (voided warranties, safety hazards, code fines) far outweigh the rewards.
At Roofing Tampa FL, we blend cutting-edge materials, meticulous craftsmanship, and deep local knowledge to deliver roofs that endure Florida’s worst. Ready to elevate your home’s protection? Contact us today for a free, no-obligation quote and inspection. Let’s build a roof that weathers every storm—literally and figuratively.